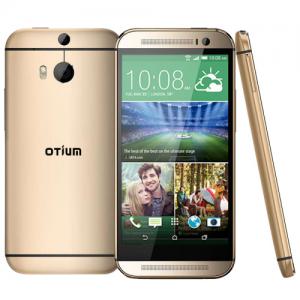
Backup Otium M8
Mobiles >> Otium >> Otium M8| Specifications | Reviews | Secret codes |
| Unlock phone | Root phone |
| Backup | Flash Firmware | Screenshot |
Backup copy of personal data on Otium M8?
A backup copy is needed to save personal data, a list of installed applications, photos, music and video files, contacts, notes, bookmarks in the browser, etc..One of the most reliable, and most importantly, the simplest ways to save personal data contained in an Android smartphone is to synchronize data with cloud storage.
Google in the Android software platform provides almost all the possibilities for easy saving and quick recovery of photos, contacts, applications (without credentials), notes and more. It is enough to create a Google account when you first start a phone running an Android operating system of any version, or enter the data of an existing account, and also allow the system to regularly synchronize user data with cloud storage. This opportunity should not be neglected.
A few tips, as always, to have a ready, securely saved copy of the most important for most users - personal photos and contacts, using the capabilities of synchronization with Google.
1. To enable synchronization in Android, go along the path 'Settings' -> 'Google Account' -> 'Sync now' and check the boxes for the data that will be copied to the cloud storage.
2. To store contacts in the cloud, it is necessary to specify Google account as the storage location when creating them. If the contact information has already been created, you can easily export it using the standard Android application 'Contacts'.
3. In order not to lose your own photos if something happens to your phone, the easiest way is to use the standard Android application Google Photos.
Of course, Google isn't the only monopoly on backing up user data from Android devices.
Method 1: TWRP Recovery
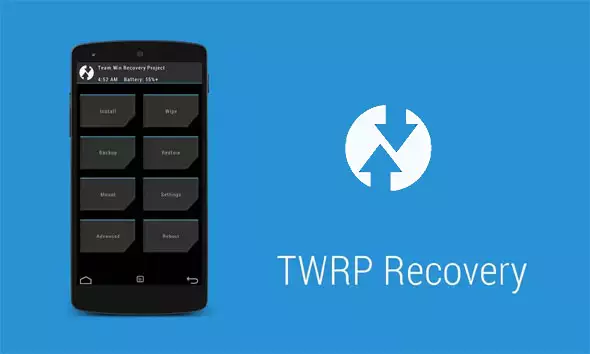
The easiest way to create a backup is to use a modified recovery environment for this purpose - custom recovery. The most functional among those solutions is TWRP Recovery.
1. Enter TWRP Recovery, to enter, you need to press the 'Volume Down' key and the 'Power' button together for a few seconds on the switched off device.
2. Next, you need to go to the 'Backup' section.
3. On the screen that opens, you can select memory partitions for backup, as well as a button to select a drive for storing copies, click 'Select Storage'.
4. The best choice for storage space is an SD memory card. In the list of available storage locations, switch the switch to the 'Micro SDCard' position and confirm your choice by clicking on the 'OK' button.
5. After that, you need to swipe to the right in the 'Swipe to Backup' field and the copying process will begin.
6. You can follow the progress of the operation of copying files to the selected media using the progress bar, as well as see a log of the actions being performed at the moment..
7. The backup files made in the above way are stored in the TWRP / BACKUPS folder on the drive selected during the procedure. The folder with the resulting copy can be copied to your PC hard drive or cloud storage.
Method 2: CWM Recovery + ROM Manager Android App
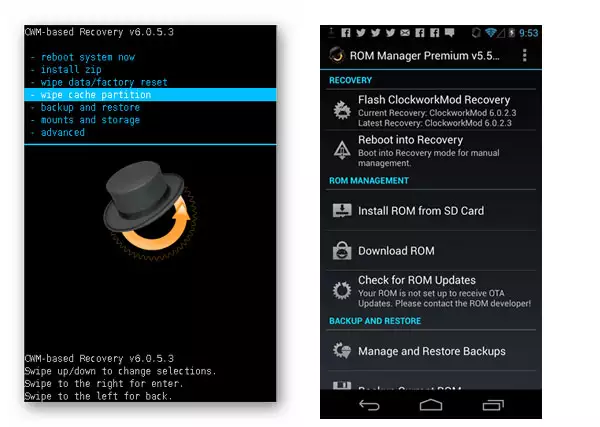
As in the previous method, when creating a backup of the Android firmware, a modified recovery environment will be used, only from another ClockworkMod developer - CWM Recovery. In general, the method is similar to using TWRP. At the same time, CWM Recovery does not have the necessary capabilities for many users to manage the process of creating a backup, for example, it is impossible to select individual partitions to create a backup. But the developers offer their users a good Android application ROM Manager, using the functions of which, you can start creating a backup directly from the operating system.
1. Install and open ROM Manager. On the main screen of the application, in the 'Backup and Restore' section, select 'Backup current ROM'.
2. Provide a name for the future backup and click 'OK'.
3. The application works with root rights, so you must provide them upon request. After that, the phone will reboot into recovery and create a backup copy.
4. The backup copy takes a long time. You can watch the progress bar. Cancellation of the procedure is not provided.
Upon completion of the process, the main recovery menu opens. You can reboot into Android by selecting the "reboot system now" item. Backup files created in CWM Recovery are stored in the path specified when it was created in the "clockmod/backup" folder.
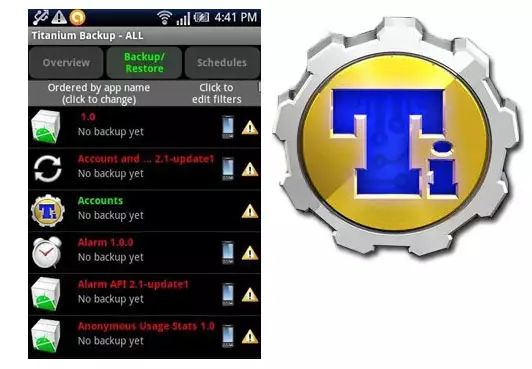
Method 3: Titanium Backup app
Titanium Backup is a very powerful yet easy-to-use system backup tool. Using the tool, you can save all installed applications and their data, as well as user information, including contacts, call logs, sms, mms, WI-FI access points and more.
The advantages include the ability to extensively customize the parameters. For example, there is a choice of applications and data that will be saved. To create a full-fledged Titanium Backup backup, you must have root rights.
You need to take care of a safe storage location for the backups you create in advance. The internal memory of the smartphone is not such, it is recommended to use a PC disk, cloud storage or, in extreme cases, a microSD card.
Method 4: SP FlashTool + MTK DroidTools
Using the SP FlashTool and MTK DroidTools applications is one of the most functional ways that allows you to create a truly complete backup of all memory sections. Another advantage of this method is the optional presence of root rights on the device. The method is applicable only for devices built on the Mediatek hardware platform, with the exception of 64-bit processors.
Method 5: Backup the system using ADB
If it is impossible to use other methods or for other reasons, to create a complete copy of the memory partitions of almost any Android device, you can use the OS developers' toolkit - the Android SDK component - Android Debug Bridge (ADB). In general, ADB provides all the possibilities for carrying out the procedure, only root rights on the device are needed.
Summary: Design: Bar; SIM Quantity: Dual SIM; SIM Types: Micro SIM Card, Nano SIM Card; CPU: MTK6582; Processor: Quad Core, 1.3GHz; Operating System: Android 4.2; RAM: 1GB; ROM: 8GB; External memory: TF card up to 32GB (not included); Sensor: G-sensor, Light sensor, Proximity sensor; Support Language: Arabic, Afrikaans, Bahasa Indonesia, Dutch, Catalan, Czech, Danish, French, English, Filipino, Greek, German, Hebrew, Italian, Japanese, Korean, Malay, Portuguese, Russian, Spanish, Turkish, Thai, Vietnamese, Simple Chinese, Traditional Chinese; Additional Features: GPS, WiFi, Bluetooth, FM Radio, OTG, Infrared Remote Control, Browser, Email, Messaging, Wallpapers, Calendar, Calcu ...
Comments, questions and answers on backup Otium M8
Ask a question about Otium M8


