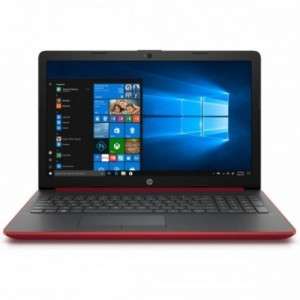
Screenshot on HP 15-db1089nt 9PU80EA
Laptops Specs >> HP >> HP 15-db1089nt 9PU80EA| Specifications | | | Reviews |
| Screenshot |
1. Press Windows key + W key
Press the Windows and W keys at the same time and a pop-up window will appear at the bottom of the screen, as shown in the figure below:

You can make changes to your screenshot with markers or crop the image if you don't want a screenshot of the whole screen.
After making changes to the screenshot, choose what to do with it next: save the screenshot, copy it, or send it somewhere.
2. Press Windows key + PrtScr key
Press the Windows key and PrtScr at the same time and a screenshot will be taken.
Your screenshot will be in a folder called screenshots on your computer, as shown in the picture below:
3. Press SHIFT key + Windows key + S key
To take a screenshot, you need to press the SHIFT, Windows, and S keys simultaneously. At the top of the notebook screen you will see a small panel with some options, as shown in the picture below:

You can select any desired area of the screen in a square or round shape, as well as take a screenshot of the entire screen.
The screenshot will appear on your computer's clipboard and you can use it wherever you want.
4. Press Windows key + G key
After you press the Windows + G keys, the options will open. One of the options you will see at the top left of the screen will be the capture option, and from there you will click on the camera icon to take a screenshot, as in the image below:

This method is useful because it saves a screenshot with the name of the web page or application you're taking the screenshot from, so you'll know where you took it.
Comments, Questions and Answers about HP 15-db1089nt 9PU80EA
Ask a question about HP 15-db1089nt 9PU80EA


