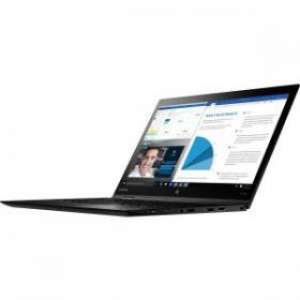


Screenshot on Lenovo ThinkPad X1 Yoga 20FQ003NUS
Laptops Specs >> Lenovo >> Lenovo ThinkPad X1 Yoga 20FQ003NUS| Specifications | | | Reviews |
| Screenshot |
1. Press Windows key + W key
If you press the Windows and W keys simultaneously, you will see a pop-up window at the bottom of the screen, as shown in the figure below:

You can change your screenshot with markers, crop the image if you don't need a screenshot of the whole screen.
After you finish editing, you can save the screenshot to your computer.
2. Press Windows key + PrtScr key
Press the Windows key and PrtScr at the same time and a screenshot will be taken.
Next, you will be able to see your screenshots in a folder called screenshots on your computer, as shown in the image below:
3. Press PrtScr key
Press the PrtScr and a screenshot will be taken.
After that the screenshot is automatically copied to the clipboard of the computer and can be edited in a graphic editor.
Comments, Questions and Answers about Lenovo ThinkPad X1 Yoga 20FQ003NUS
Ask a question about Lenovo ThinkPad X1 Yoga 20FQ003NUS