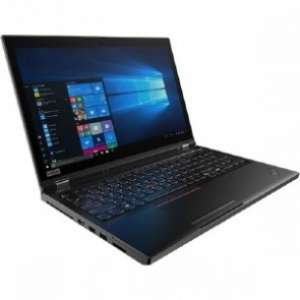
Screenshot on Lenovo ThinkPad P53 20QN005AUS
Laptops Specs >> Lenovo >> Lenovo ThinkPad P53 20QN005AUS| Specifications | | | Reviews |
| Screenshot |
1. Press Windows key + W key
To take a screenshot, press the Windows and W keys at the same time, then a pop-up window will appear at the bottom of the screen, as shown in the figure below:

You can change the screenshot using markers, reduce the size of the screenshot if you don't want a screenshot of the whole screen.
After you finish editing, you can save the screenshot, copy it, or share it with someone else.
2. Press Windows key + PrtScr key
Just press the Windows key and the PrtScr key at the same time and the screenshot will be taken.
In the folder named screenshots on your computer, there will be your screenshot as shown in the figure below:
3. Press PrtScr key
Just press the PrtScr key and the screenshot will be taken.
After capturing a screenshot, it is automatically copied to the clipboard of your computer. Open any graphics editor and use the Paste function to open the image in the program.
Comments, Questions and Answers about Lenovo ThinkPad P53 20QN005AUS
Ask a question about Lenovo ThinkPad P53 20QN005AUS


